Warhammer World - J'migan Bridge
Below are a few shots from our 6,000 point game at Warhammer World. We played on the new J'migan bridge table and it is gorgeous. Despite it being a 12' by 6' board its is crammed with detail, from large tactically important features such as the bridge and multiple aquila strongpoints through to small items such as discarded weapons, crates and bodies that are scattered across the surface.
As usual we didn't use the apocalypse rules and played a standard emperor's will scenario using a hammer and anvil deployment. We used two of the aquila strongpoints as objectives. The game ended with my Archon warlord fighting Azriel in single combat for three turns on top of the Dark Angels objective. Eventually my warlord was slain and his retinue put to flight. With that went any hope of the win and we shook hands on a draw after what had been an incredibly fun game.
As always it was a pleasure to play at Warhammer World, with loads of friendly people stopping by our table to chat about the game and offer advice.
 |
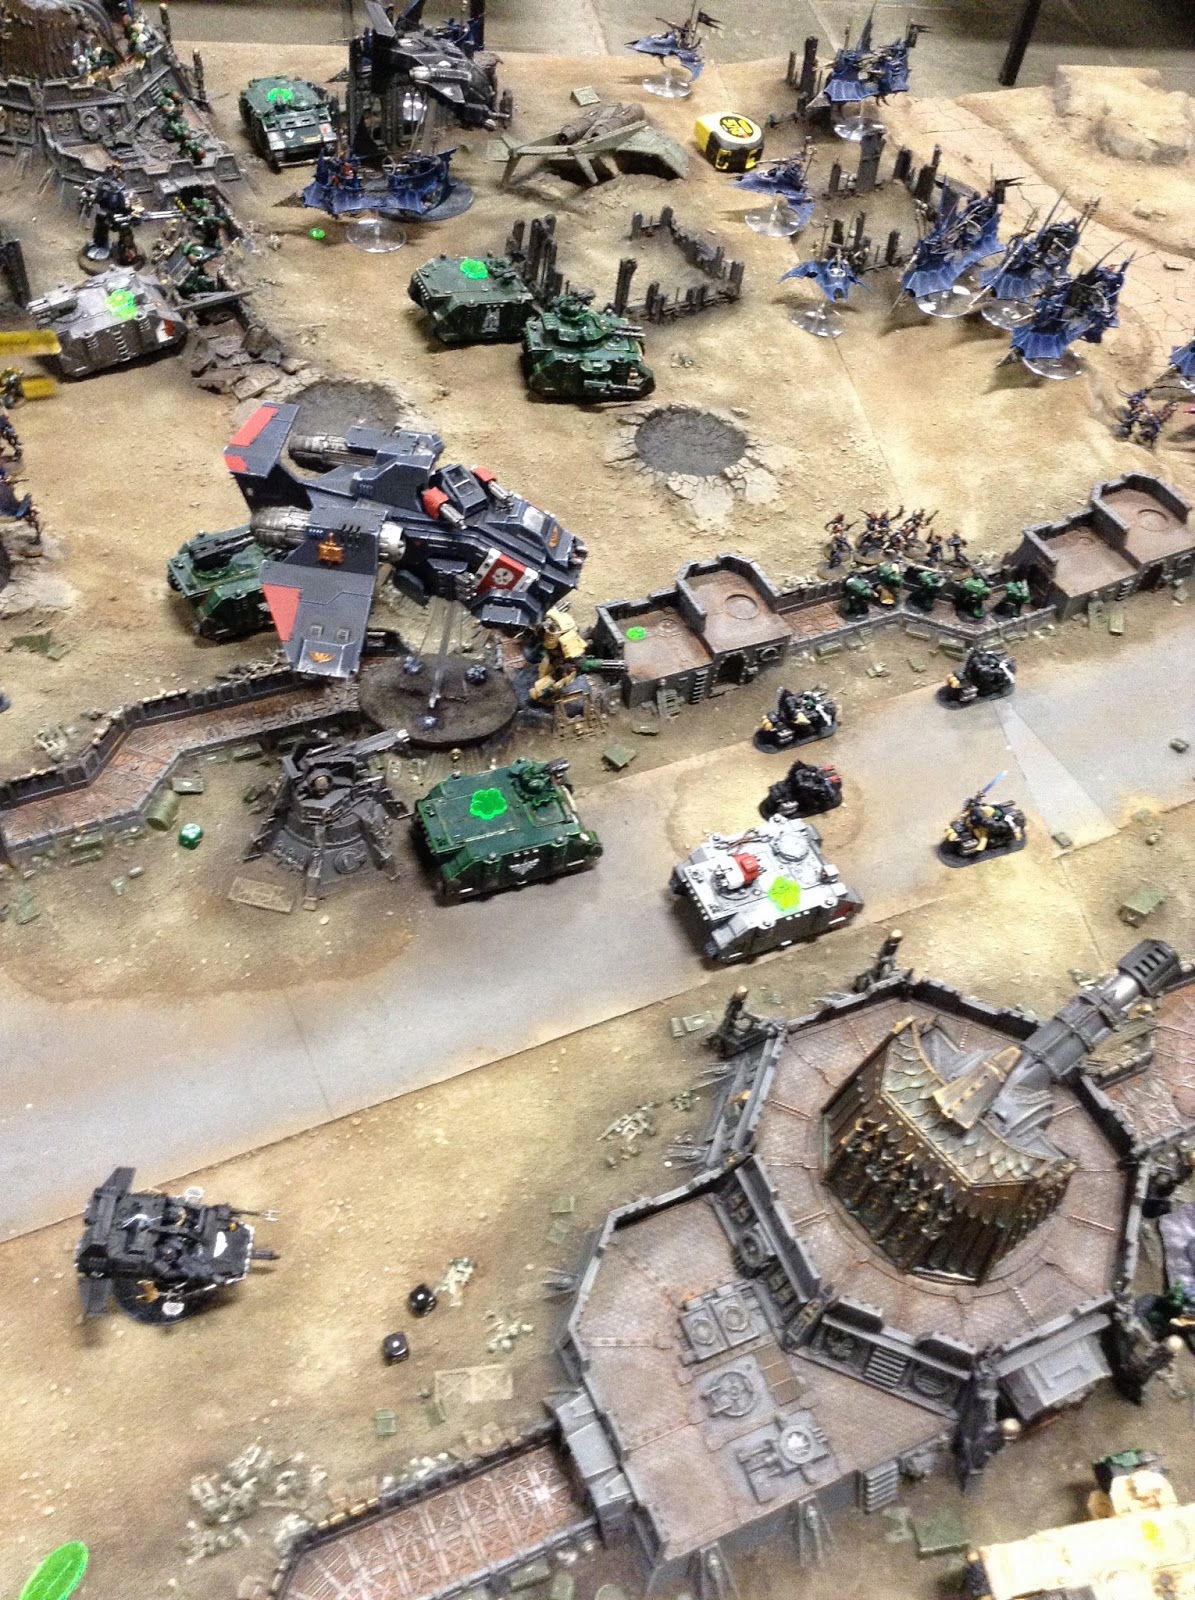
| Eldar and Dark Eldar forces mass on the starting line for a dash toward the enemy objective |
 |
| Dark Angel forces organise a defence in depth while Raven Wing speed forward |
 |
| Battle is joined |
 |
| Grey Knight reinforcements head toward the Eldar objective |
 |
| The Dark Eldar assault thrusts deep into the Dark Angel lines whilst the Imperial counter-assault falters in the river bed |

This was an absolutely epic game! This was very much a battle of two objectives which ended in stalemate. On the right flank the Imperial attack was faltered when the Eldar lances made short work of the Deathwing land raider, forcing everyone to get out an trudge. Not to mention Ravenwing being obliterated whilst boosting up the road.
ReplyDeleteOn the left flank the Dark Eldar attack faltered when Azrael used is plasma gun to blow the Archon's Skimmer up, followed by 3 rounds of HQ vs HQ fighting.
Can't wait for our next battle in May